Before I launch into a description of this week’s recipe using Farmer Kev’s delicious vegetables, I thought I would describe a little blooper I made in the kitchen last night. All right, it was actually a big blooper. I am sharing this because I believe it’s good to admit that even those who have been cooking for a very long time can still make mistakes. (So take heart, beginning cooks!)
Here’s what happened. I had marinated tofu. I had pea pods courtesy of Farmer Kev. Why not stir fry them together, put them on rice, and drizzle a homemade peanut sauce over it all? Then, of course, sprinkle with crushed peanuts. This I did, and how nice it all looked.
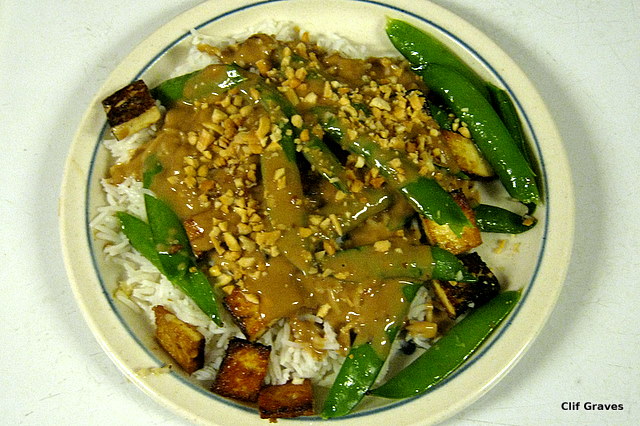
There was just one teensy-weensy problem, which Clif and I discovered as we started eating.
“Wow!” I said. “These pea pods are tough.”
“I was thinking the same thing,” Clif admitted.
“And they don’t have much taste,” I added.
Then it immediately came to me what the problem was. These weren’t sugar snaps; these were peas to be shelled. Oh, how we laughed at Laurie’s mistake as we stopped eating to shell the slimy pods. Miraculously, even though the pods had only been lightly blanched, the peas inside were cooked enough to eat.
After the peas were shelled, the dish was pretty darned good, as my Yankee husband observed. So good that there weren’t any leftovers, even though there should have been. (Clif is what you might call a good eater, especially when peanut sauce is involved.)
Blooper aside, this dish, like fried rice, is wonderfully versatile. A variety of summer vegetables could be used: Broccoli, zucchini, summer squash, green beans, carrots. Shelled peas or sugar snaps, but probably not both.
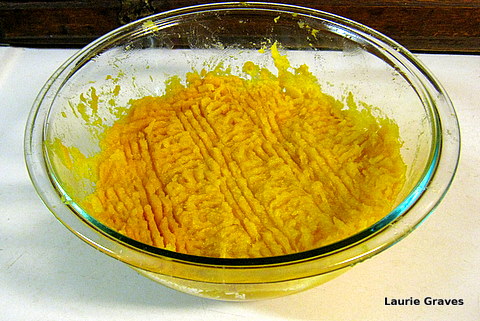
I marinated extra-firm tofu in a homemade teriyaki sauce, baked it for 45 minutes, then cut it in cubes to stir-fry. This might be one extra step that a busy home cook would rather not take. Although the marinated tofu adds a nice texture and taste to the dish, it is not an essential element. Just vegetables could be used. Leftover chicken could be added.
The vegetables could be steamed or stir-fried. If stir-fried, then chopped garlic or onion could be added for additional flavor.
So this week, I’m not going to give a recipe per se. Just cook up some rice, steam or stir-fry some vegetables, drizzle with peanut sauce, and sprinkle with crushed peanuts. And for goodness’ sake, don’t confuse sugar snaps with shell peas.
Here is a recipe for the peanut sauce. It’s adapted from a recipe from Miserly Moms: Living Well on Less in a Tough Economy.
Ingredients
- 1/2 cup of peanut butter
- 1/2 cup of warm water (Use less for a thicker sauce)
- 3 tablespoons of soy sauce
- 1 tablespoon of vinegar—wine, cider, or rice
- 1/4 teaspoon of hot pepper flakes (More could be added for those who like it hot.)
Directions
- Whisk together the peanut butter and water until smooth.
- Add the soy sauce, vinegar, and hot pepper flakes. Whisk again.
- Drizzle over vegetables and rice. Drizzle over vegetables and noodles. Use as a dipping sauce for chicken. This simple but tasty sauce can be used in a number of ways